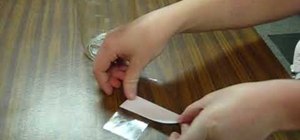
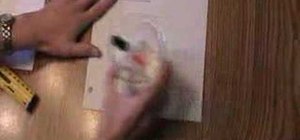
In this how to video, you will learn how to build your very own rain gauge. You will need tape, scissors, rain gauge ruler, and a jar. First, go to the website shown and print and cut out the ruler on the screen. Next, cut the tape strips. You will need them to be about 5 inches in length. Next, attach the rain gauge ruler to the jar. You will do this by placing the ruler on the tape and place the ruler on the jar. Make sure the ruler is aligned with the bottom edge of the jar. Take the second piece of tape and place it on the bottom uncovered half of the ruler. Your rain gauge is now finished for use. This video shows how easy it is to create a rain gauge for experiments.
Just updated your iPhone? You'll find new emoji, enhanced security, podcast transcripts, Apple Cash virtual numbers, and other useful features. There are even new additions hidden within Safari. Find out what's new and changed on your iPhone with the iOS 17.4 update.










Be the First to Comment
Share Your Thoughts