


Glow sticks, a popular favor at parties and outdoor events, and a must-have on Halloween, can be traced back to the United States Navy in the mid-1960s. The military desired improved visibility during night operations, and glow sticks, with their small-size portability and lack of batteries, were a perfect tactical solution.
After toiling for over a decade in chemiluminescence — or the emission of light through chemical reaction — the US Navy's patent for the "Chemical Lighting Device" was issued in 1973, followed by the "Chemiluminescent Device" in 1974, and the "Chemiluminescent Signal Device" in 1976, which featured a design very similar to the modern glow stick.
While glow sticks today are still used by the military and emergency services, they're also common light sources for campers, divers and ... ravers, of course.

Though I may be done with the glow-in-the-dark parties from my college days, I still think glow sticks are pretty legit, and always thought it would be awesome to make some for myself. There are actually a few different ways to make your own DIY glow sticks, some much more complicated than others.
The Science of Glow Sticks
As you may guess, chemically accurate glow sticks are pretty complicated. To make real glow sticks like a chemist, you need several supplies that aren't exactly cheap or easy to come by. Unless you have unfettered access to a fully stocked science lab, you'll probably need to buy some (of everything) online, and at a price. As YouTuber Dr. Lithium of NurdRage explains in his video tutorials on how to make glow sticks, it's good to go into this DIY with realistic expectations:
This is much more complicated than buying a glow stick. For small amounts, this is also more expensive. Making glow sticks this way only becomes cheaper if the chemicals are bought in bulk. Once again, our primary objective is to explore the science.

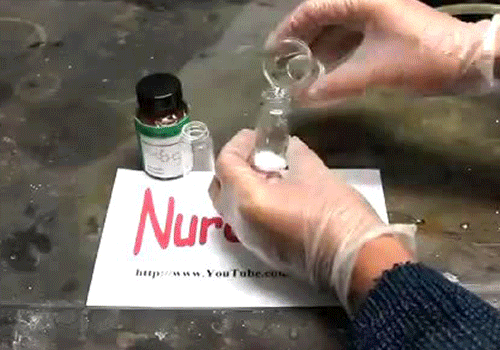
Example of the chemicals needed to make a homemade glow stick.
Chemiluminescence & Glow Sticks
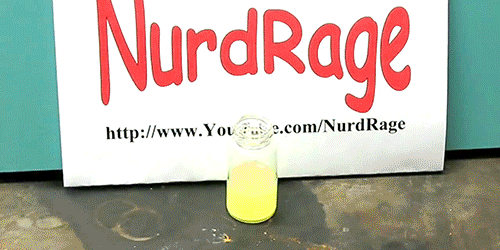
Obviously, glow sticks aren't already glowing in the pack when you buy them. You have to snap the plastic outer tube, which has a small glass tube inside containing a bunch of chemicals. When these chemicals are released, they react with the hydrogen peroxide and dye in the outer tube, making them glow.
There's one chemical in particular that causes this reaction to have such a cool effect: bis(2,4,6-trichlorophenyl) oxalate, or TCPO.

Making Homemade TCPO for Glow Sticks
To make TCPO powder, you'll need a number of supplies. To give you an idea, here's a sample based on Dr. Lithium's tutorial:
- 700 mg of 2,4, 6-trichlorophenol
- coated magnetic stir bar
- 10 ml of dry toluene
- rubber septum (optional)
- syringes
- 1 mole equivalent of triethylamine
- ice bath
- 0.5 mole equivalent of oxalyl chloride
- vacuum flask
- methanol
As with any science, precision is key. Any misstep and you could end up with something that's sorta TCPO but not quite. And if it's not exactly bis(2,4,6-trichlorophenyl) oxalate, then your glow stick's chemical reaction might not work either. Keep in mind that working on a small scale is less expensive, but requires a steady hand and attention to detail.
To make the TCPO, you'll dissolve the 2,4,6-trichlorophenol in a solution of dry toluene, which will react with the triethylamine and oxalyl chloride. You'll then vacuum away any of the unreacted chemicals. Next, you'll add methanol to the crude TCPO to separate it from its byproduct. Mix it and vacuum-filter it, and you're left with pure TCPO powder.
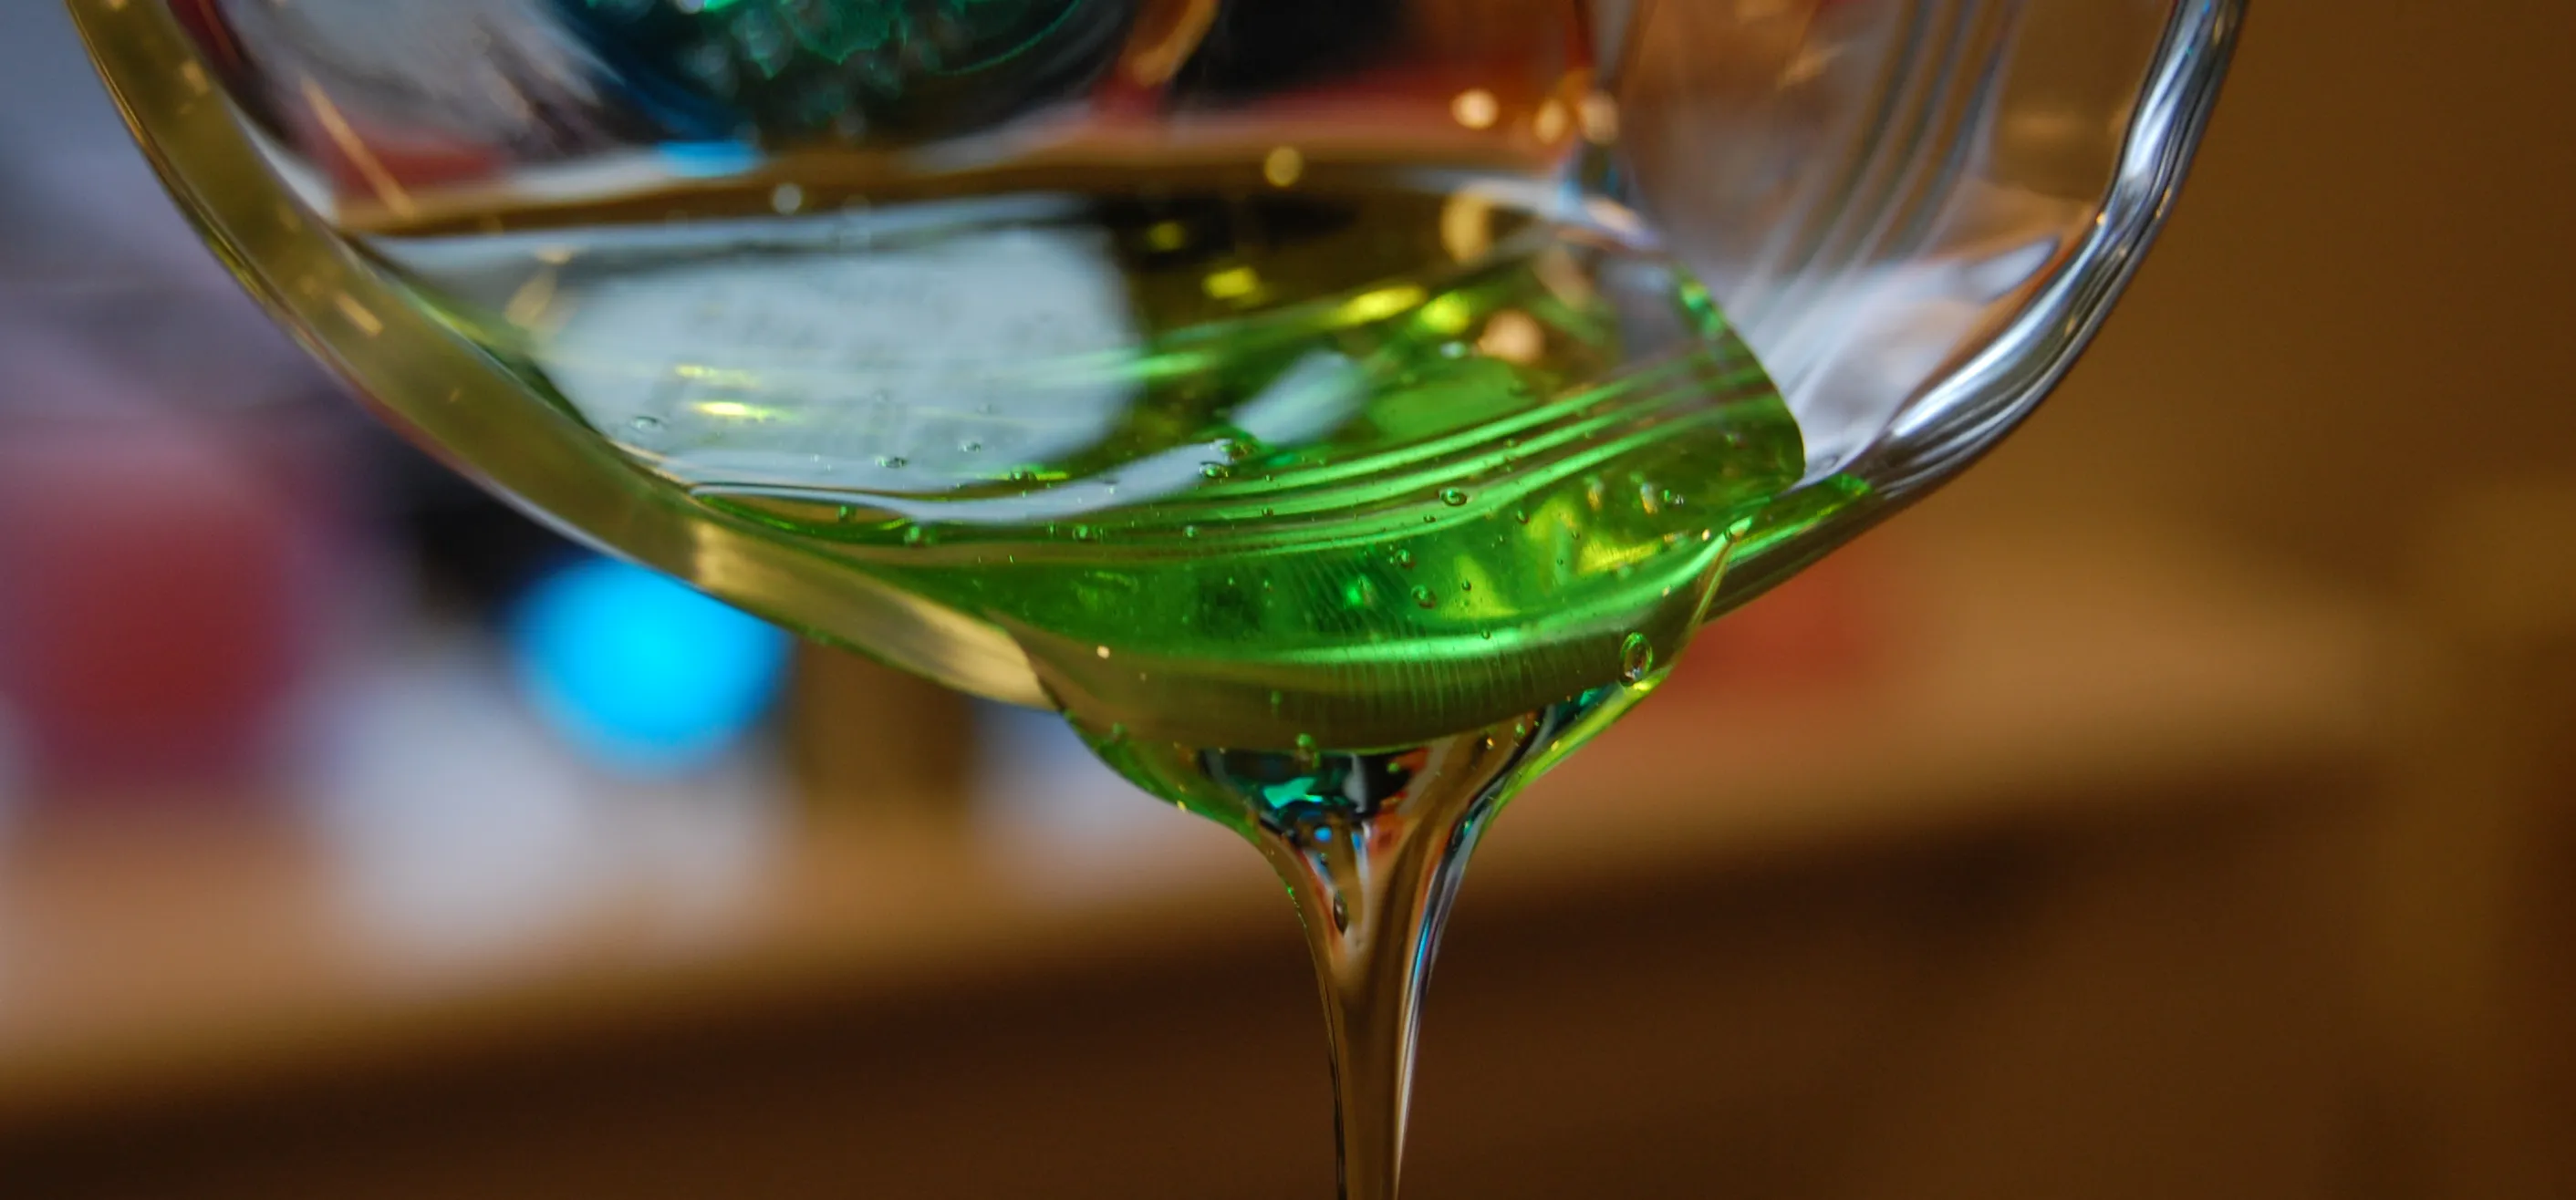
This powder, when added to a weak base and hydrogen peroxide, will create the chemiluminescent reaction, which will produce the glow:
Making Glow Sticks from Scratch
Once you acquire some of the key ingredient, TCPO, you'll need even more chemicals to make your glow sticks. Diethyl phthalate is used as the solvent, and you'll also need some fluorescent dye, sodium acetate and, of course, hydrogen peroxide. Dr. Lithium takes us through the steps one by one in his video below.
As stated in the video, different dyes can be added to the standard mixture for different colors, and some may be brighter than others. The length and intensity of the glow depends on the amount of TCPO you use.
If you create a true glow stick, you'll mix all of your chemicals first but the hydrogen peroxide is kept separate in its own glass tube. The tube is inserted into the glow stick's casing and then the entire stick is bent, breaking the tube, and setting off the chemical reaction:
The hydrogen peroxide is in its own glass tube.
Making a 100-Foot Glow Stick
In a follow-up video to the guide featured above, Dr. Lithium and a few members of the NurdRage crew decided to take on a challenge, creating a 100-foot glow stick using polyethylene tubing, which is the same casing that's used for the ones you buy in stores.
The ingredients are pretty much the same as the ones used in the other NurdRage video guides, you'll just need a lot more of them. But as Dr. Lithium has noted, the cost goes down as supplies are purchased in bulk. Pretty awesome, right? Who knew science was so cool.
Phosphorescence & Glow Sticks
Now that we've seen what chemiluminescence does, are there other methods to making a glow stick at home? Yes, try phosphorescence.
C For Chemistry created a video tutorial on how to make a reusable glow stick you can recharge. It's technically not a real glow stick since it doesn't bend and you don't have to snap it, but this version is much easier to make because it doesn't rely on a chemical reaction to produce the glow.
All you need is some copper-doped zinc sulfide (sold as "glow-in-the-dark powder"), a tube of epoxy resin, a plastic syringe, and a piece of heat-shrink tubing or a straw for the outer tube.
To make your "glow stick," mix together the zinc sulfide and epoxy resin, then use the syringe to inject it into the tube. Once the resin hardens, trim off the excess tubing and you're done: a permanent reusable glow stick that recharges with exposure to light. When fully energized, the copper-doped zinc sulfide should glow for two to four hours.

Phosphorescence: light emitted by a substance without combustion or perceptible heat.
Easy Glow Stick Alternatives
If you don't want to mess with all those dangerous chemicals, though, or go through the trouble of tracking down some of the materials, there are a few workarounds you can use to cheat your way to a fake glow stick ... or faux stick, if you will. After all, we can't all be Walter White.
Glow-in-the-dark paint is a super easy alternative that could be cheaper in the long run if you need a lot of glow sticks. You could mix it with water and fill lengths of polyethylene tubing, or if you'd rather wear your glow sticks, just paint bracelets, necklaces, and rings on yourself.

Another great option is glow-in-the-dark tape and requires a lot less work. You can just tape your wrists or create cool designs on your clothing or sneakers. Still not enough glow for ya? Turn your bike into an awesome glowing night bike (with paint or tape), or liven up your party with some delicious glow-in-the-dark cocktails.
Indeed, for parties, outdoor events, concerts and clubbing, camping, and a certain October holiday, glow sticks and everything glow-in-the-dark are always a good idea. While manufacturers have made them simple enough to buy, making a glow stick on your own is entirely possible (as we now know), and certainly a cool experiment to try should you have the right supplies and equipment. Glow crazy!


Comments
Be the first, drop a comment!